There’s something timeless about sitting around a fire. The glow, the warmth, the crackling wood, the way conversations somehow become easier after sunset — it turns an ordinary backyard into a place people actually want to linger. Whether you have a sprawling backyard or a tiny patio tucked behind a townhouse, a thoughtfully designed fire pit area can completely change how you use your outdoor space.
A great backyard fire pit setup isn’t just about placing chairs around a flame. It’s about creating a comfortable atmosphere that invites people to stay a little longer, laugh a little louder, and make memories that feel effortless. The best part? You don’t need a luxury landscape budget to create one.
From simple weekend DIY layouts to high-end outdoor living designs, here’s how to build a cozy backyard gathering space centered around a beautiful Wood burning fire pit.
Why Fire Pits Have Become the Heart of Outdoor Living
Outdoor spaces used to be treated as “extra” square footage. Now they’re extensions of the home itself. People want backyards that feel relaxing, functional, and welcoming.
And nothing anchors an outdoor space quite like fire.
A fire pit naturally creates a focal point. Instead of people scattering across the yard, the fire becomes the center of attention. It encourages connection in a way TVs and phones never can.
A well-designed fire pit area also makes your backyard usable during cooler evenings and transitional seasons. Even in mild climates, a fire extends outdoor enjoyment deep into fall and early spring.
For homeowners interested in outdoor entertaining, few upgrades deliver more atmosphere for the money.
Start With the Right Fire Pit Style
Before designing the seating and layout, choose the type of fire pit that fits your lifestyle and space.
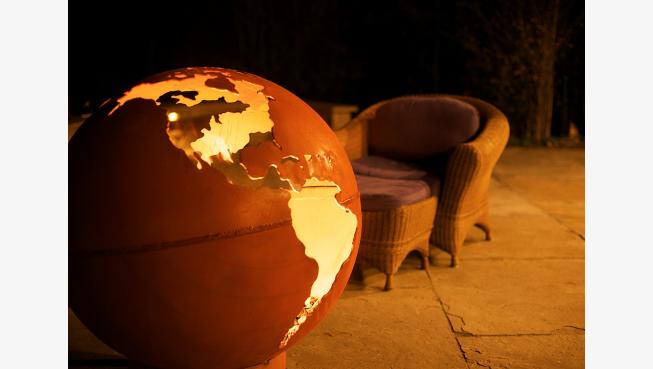
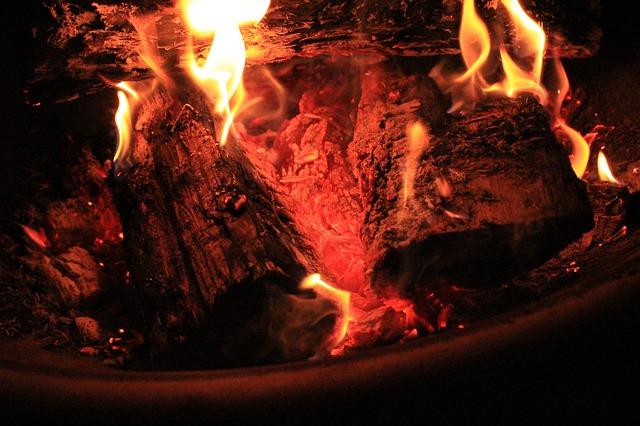
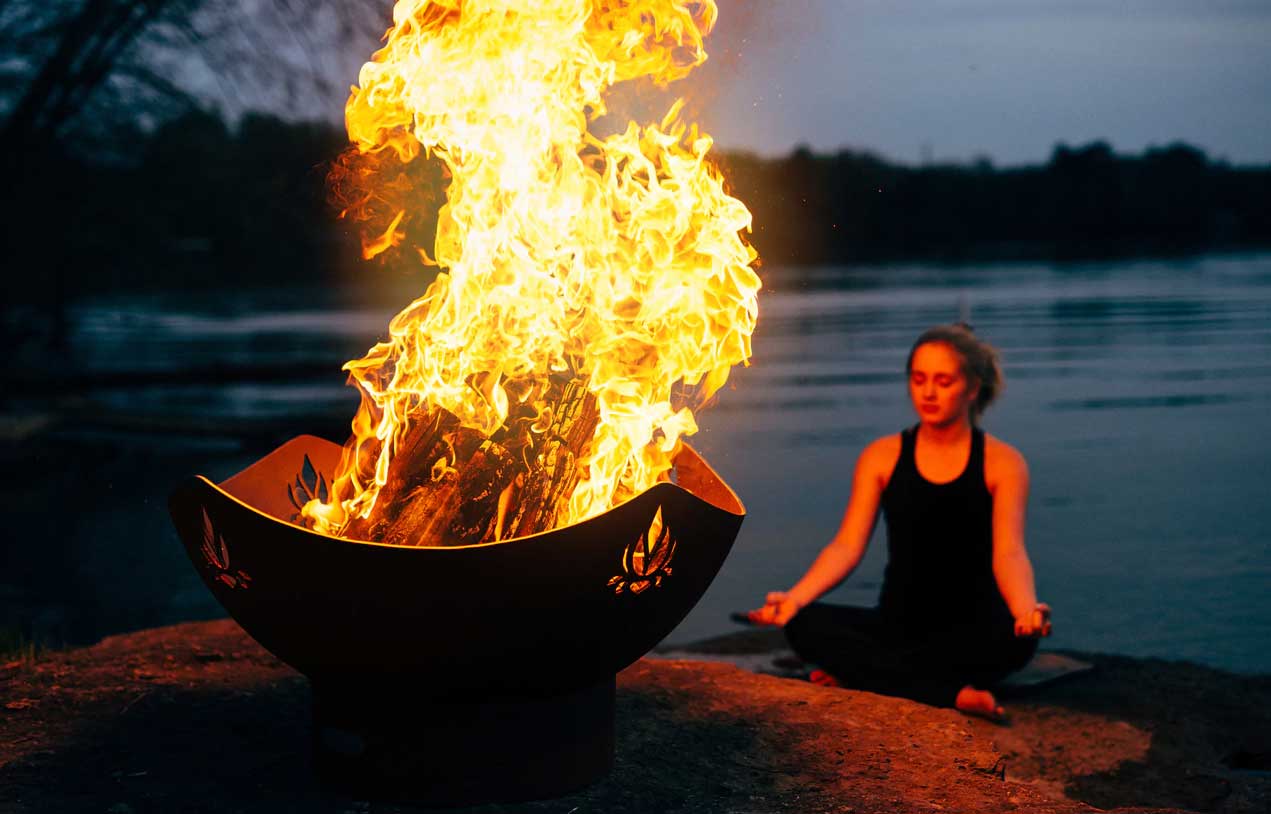
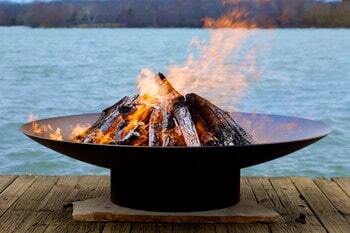
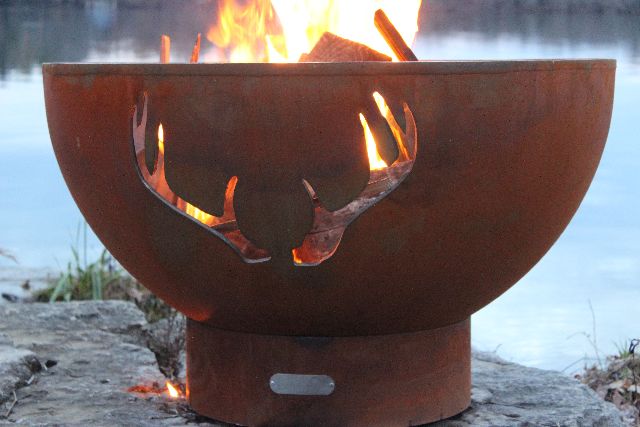
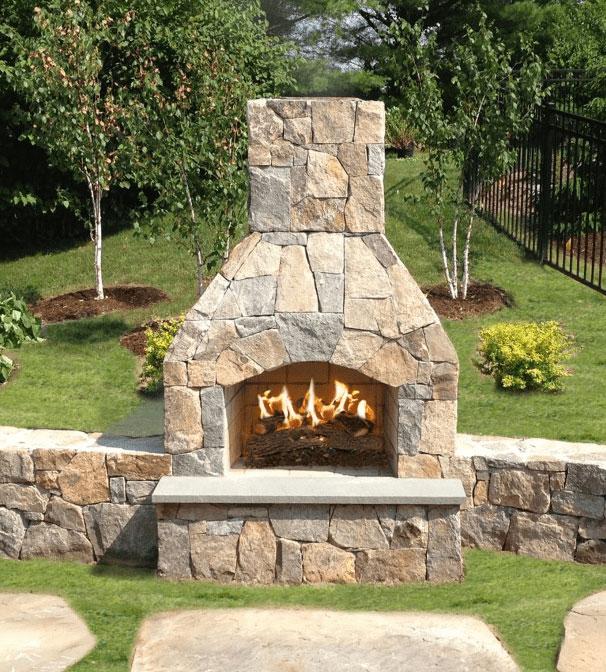
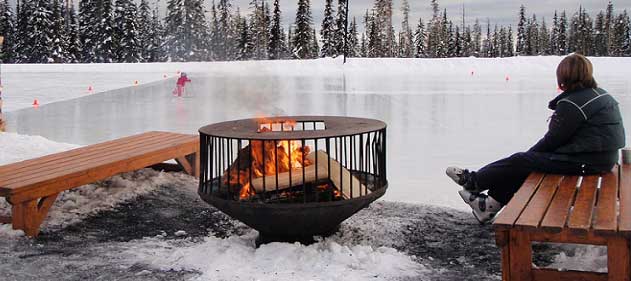
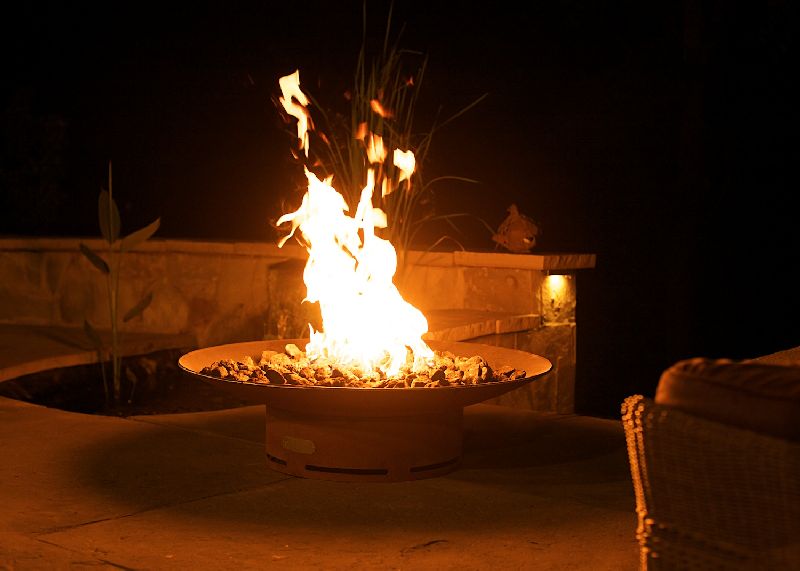
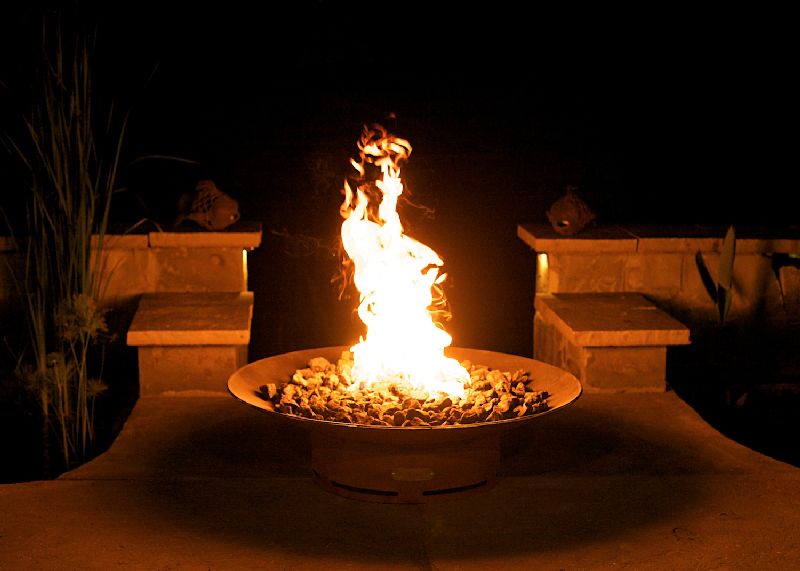
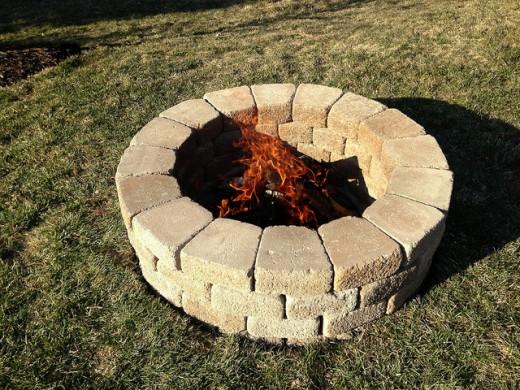
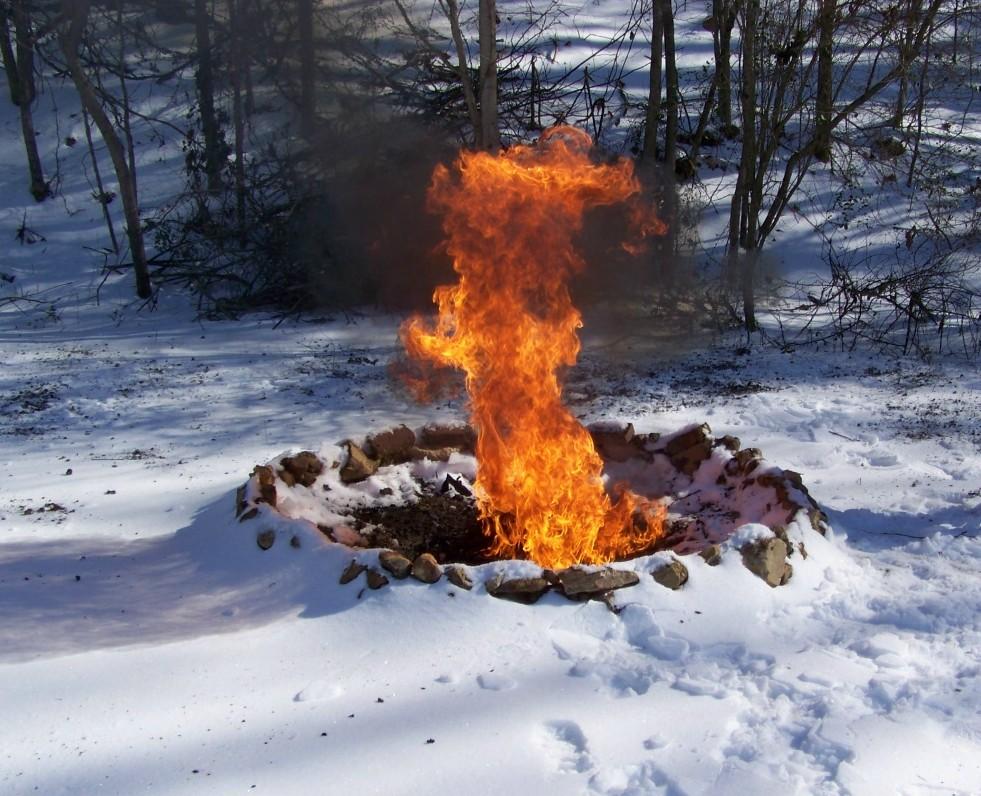
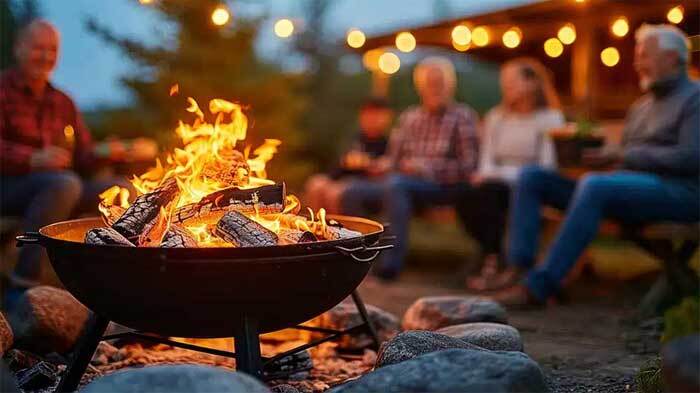
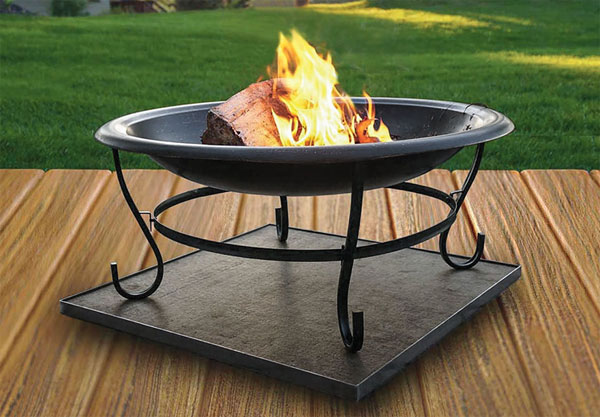
Wood Burning Fire Pit
A Wood burning fire pit delivers the classic campfire experience people love. You get the smell of burning wood, the crackling sound, and larger natural flames.
Best for:
- Rustic backyards
- Traditional outdoor spaces
- Large gatherings
- Homeowners who love authentic fire ambiance
Wood fire pits pair beautifully with:
- Adirondack chairs
- Stone patios
- Gravel gathering spaces
- Natural landscaping
- String lighting
If you want the backyard experience people imagine when they think of cozy evenings outdoors, wood burning is hard to beat.
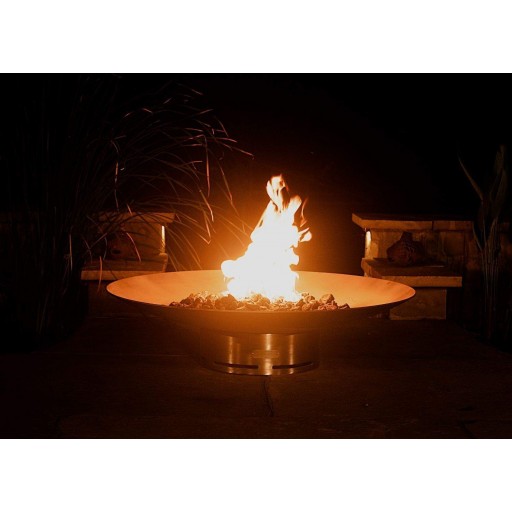
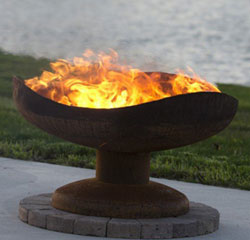
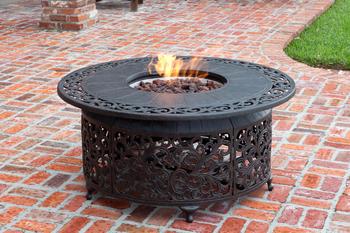
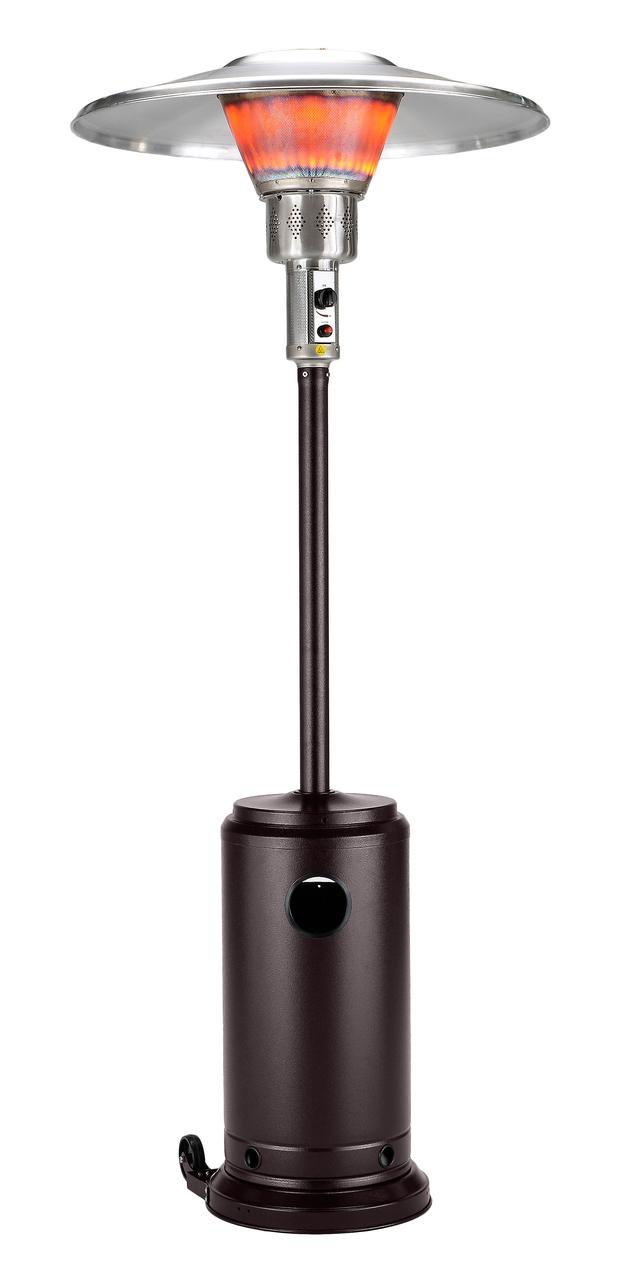
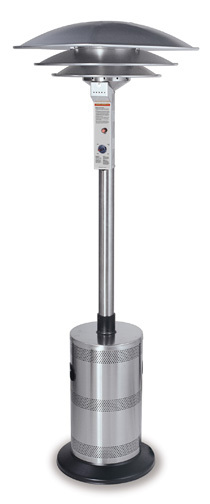
Gas Fire Pits
Gas fire pits are cleaner and easier to maintain. Turn them on instantly with a switch and enjoy a consistent flame with no smoke.
Best for:
- Modern homes
- Small patios
- HOA-restricted communities
- Quick evening relaxation
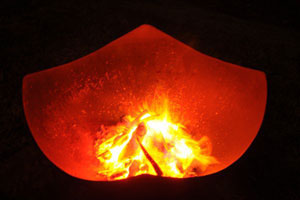
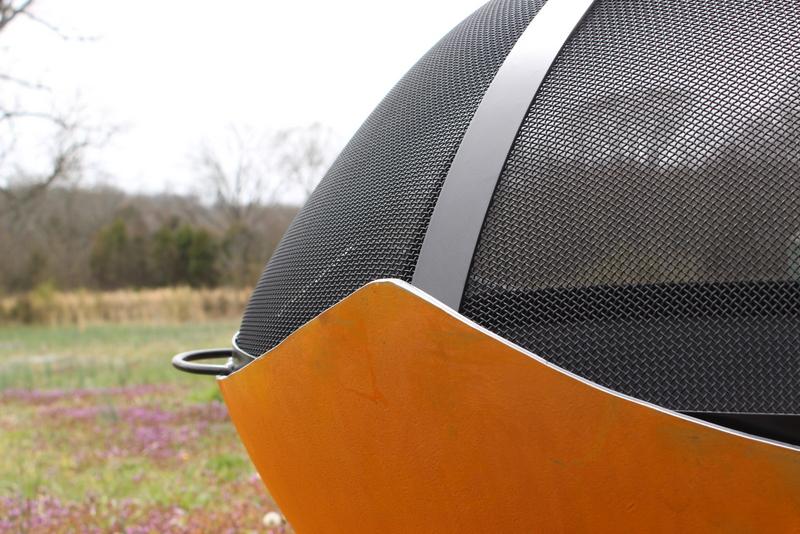
Smokeless Fire Pits
Smokeless fire pits have exploded in popularity because they reduce smoke dramatically while maintaining the wood fire experience.
Best for:
- Smaller spaces
- Close neighbors
- Frequent use
- Minimal cleanup
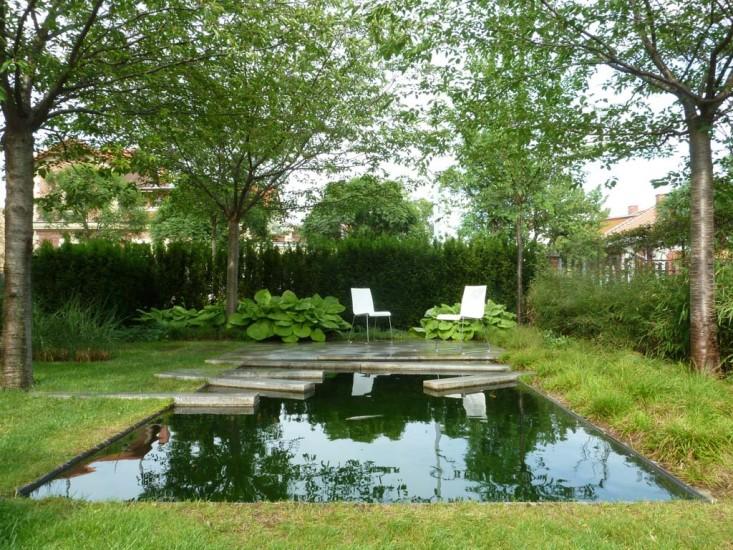
Designing Your Backyard Fire Pit Setup
The secret to a successful backyard fire pit setup is balance. You want the space to feel cozy without feeling cramped.
Here are the foundational elements every great fire pit area should include.
1. Create a Defined Gathering Zone
The fire pit should feel intentional — not randomly placed in the yard.
Defining the space visually makes the entire backyard feel professionally designed.
You can create a defined gathering zone with:
- Paver patios
- Gravel circles
- Deck platforms
- Outdoor rugs
- Stone borders
- Retaining walls
Circular layouts work especially well because they encourage conversation naturally.
For rectangular patios, soften the lines with curved seating arrangements or rounded furniture.
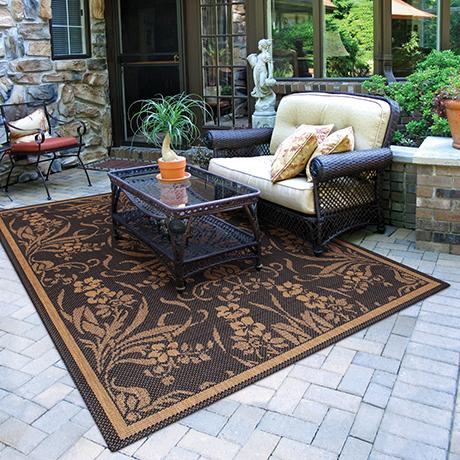
2. Prioritize Comfortable Seating
Nobody wants to sit on hard chairs for hours.
Comfort is what transforms a fire pit area from “nice” to irresistible.
Popular seating choices include:
- Adirondack chairs
- Deep cushioned lounge seating
- Built-in stone benches
- Outdoor sectionals
- Hanging egg chairs
- Wooden benches with cushions
The ideal seating distance is usually 4–7 feet from the fire depending on pit size.
For larger gatherings, mix seating types to create a layered, relaxed look.
Example:
- Two lounge chairs
- One outdoor loveseat
- Two side chairs
- Poufs or stools for flexible seating
That mix makes the space feel curated rather than overly formal.
3. Layer Lighting for Evening Atmosphere
Lighting can completely change the mood of your backyard.
The fire itself provides warmth and movement, but layered lighting makes the space magical after dark.
Consider combining:
- String lights
- Solar pathway lights
- Lanterns
- Wall sconces
- LED landscape lighting
- Recessed deck lights
Warm lighting works best around fire pits. Avoid bright white bulbs that feel harsh or commercial.
Soft amber tones create a welcoming glow that encourages relaxation.
Fire Pit Designs for Small Backyards
You don’t need a giant yard to create a cozy outdoor retreat.
In fact, smaller spaces often feel more intimate and inviting.
Small Space Layout Ideas
The Gravel Circle Setup
One of the simplest and most affordable designs:
- Circular gravel pad
- Compact fire pit
- Four Adirondack chairs
- String lights overhead
This setup works beautifully in:
- Small suburban yards
- Side yards
- Cottage homes
- Cabins
The gravel adds texture while helping define the space.
Corner Patio Fire Pit
Use an unused corner of the yard with:
- L-shaped sectional seating
- Compact fire bowl
- Vertical planters
- Privacy screens
This approach maximizes functionality without overwhelming the yard.
Minimalist Modern Setup
For contemporary homes:
- Concrete pavers
- Black metal fire pit
- Neutral furniture
- Clean landscaping
Simple can still feel incredibly cozy when done thoughtfully.
Medium Backyard Fire Pit Ideas
Medium-sized backyards offer the most flexibility because they can support both entertaining and relaxation.
The Conversation Circle
This classic setup works almost anywhere:
- Circular paver patio
- Center fire pit
- 6–8 chairs
- Decorative landscaping border
It creates natural flow and feels welcoming for groups.
The Multi-Zone Backyard
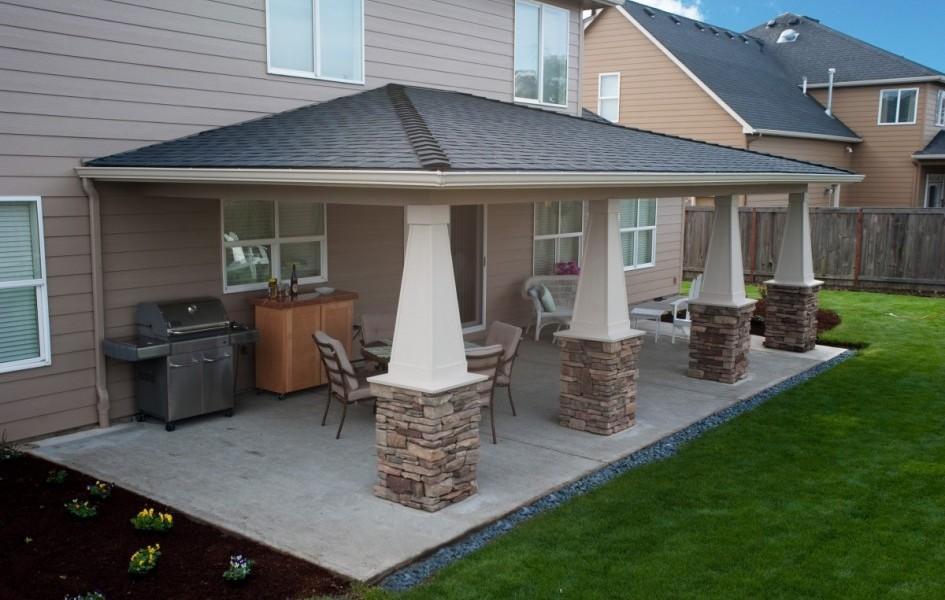
If your yard allows it, divide the space into zones:
- Dining area
- Fire pit lounge
- Garden section
- Outdoor kitchen
This creates a resort-style feel without needing a massive property.
For homeowners focused on outdoor entertaining, multiple zones make guests feel like they’re exploring different experiences throughout the evening.
Large Backyard Fire Pit Designs
Larger properties open the door to dramatic outdoor living spaces.
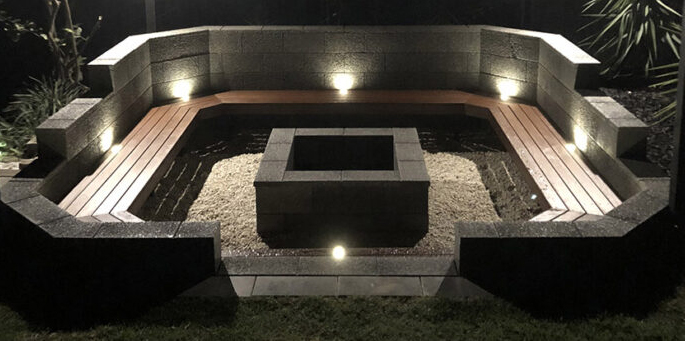
Sunken Fire Pit Lounge
Sunken seating areas feel luxurious and intimate.
Features often include:
- Built-in sectional seating
- Stone retaining walls
- Large central fire pit
- Accent lighting
- Outdoor speakers
This type of design becomes a true outdoor living room.
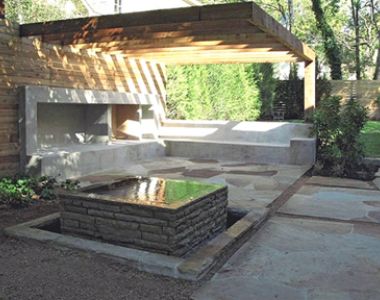
Fire Pit + Outdoor Kitchen Combo
Pairing a fire pit with a kitchen or grilling station creates the ultimate hosting space.
Imagine:
- Guests gathered around the fire
- Music playing softly
- Food grilling nearby
- Warm lighting overhead
That’s the kind of atmosphere people remember.
Natural Lodge-Style Backyard
For rustic properties:
- Oversized Wood burning fire pit
- Natural boulders
- Timber seating
- Woodland landscaping
- Pathway lighting
This style feels timeless and incredibly inviting.
Add Cozy Details That Make People Stay Longer
The little details often matter more than the expensive ones.
Outdoor Blankets
Keep a basket of throw blankets nearby for cooler evenings.
Guests love this touch because it instantly makes the space feel thoughtful and comfortable.
Side Tables
People need places for:
- Drinks
- Plates
- Phones
- Snacks
Even small side tables dramatically improve usability.
Pillows and Cushions
Outdoor-rated cushions soften the space visually and physically.
Mix textures:
- Linen-look fabrics
- Knitted throws
- Neutral earth tones
- Warm accent colors
Music
Subtle outdoor speakers create atmosphere without overpowering conversation.
Acoustic playlists, jazz, indie folk, or soft classic rock pair perfectly with fire pit evenings.
Landscaping Around the Fire Pit
Landscaping softens hard surfaces and makes the area feel integrated into the yard.
Great fire pit plants include:
- Ornamental grasses
- Lavender
- Boxwoods
- Hydrangeas
- Evergreen shrubs
- Native grasses
Avoid overly delicate plants too close to high heat.
Natural stone, mulch beds, and layered plantings create a warm, established look.
Budget-Friendly Fire Pit Design Tips
A cozy backyard doesn’t require a luxury budget.
Some of the best spaces are surprisingly simple.
Affordable Upgrades That Make a Big Difference
Use Gravel Instead of Full Pavers
Gravel gathering areas cost far less than full masonry patios.
Start With Portable Furniture
You can upgrade seating over time.
DIY String Light Poles
Pressure-treated posts can create beautiful overhead lighting for very little money.
Add Mulch Beds
Fresh mulch instantly improves visual appeal.
Build Gradually
Start with:
- Fire pit
- Seating
- Lighting
- Landscaping
- Decorative upgrades
This keeps the project manageable financially.
Fire Pit Safety Essentials
Safety matters anytime you introduce open flame.
Important considerations include:
- Keep fire pits away from structures
- Use fire-safe surfaces
- Check local regulations
- Keep a fire extinguisher nearby
- Never leave fires unattended
- Use spark screens when appropriate
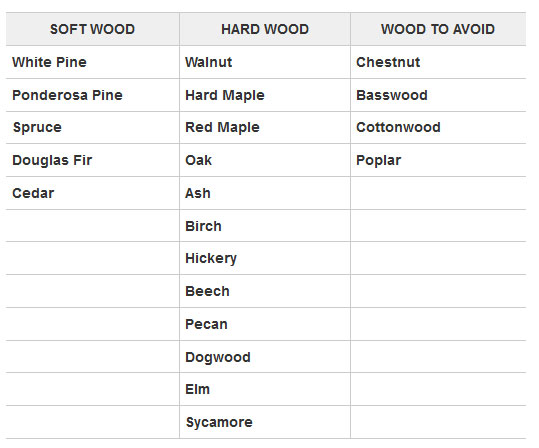
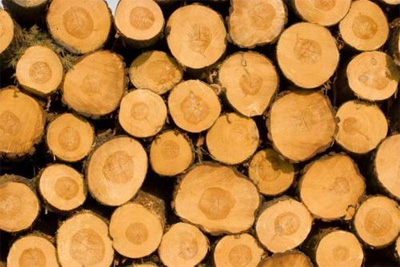
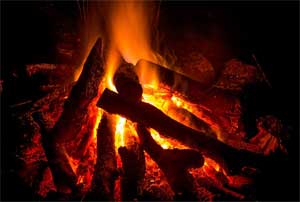
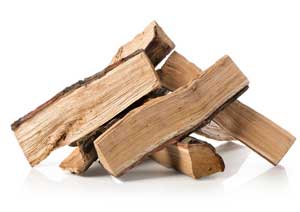
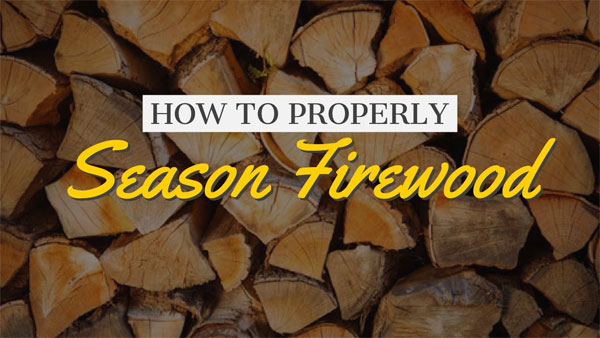
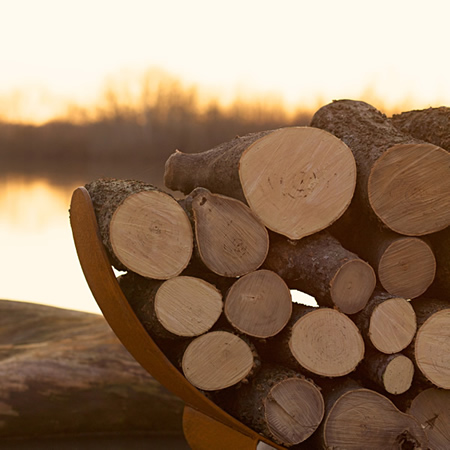
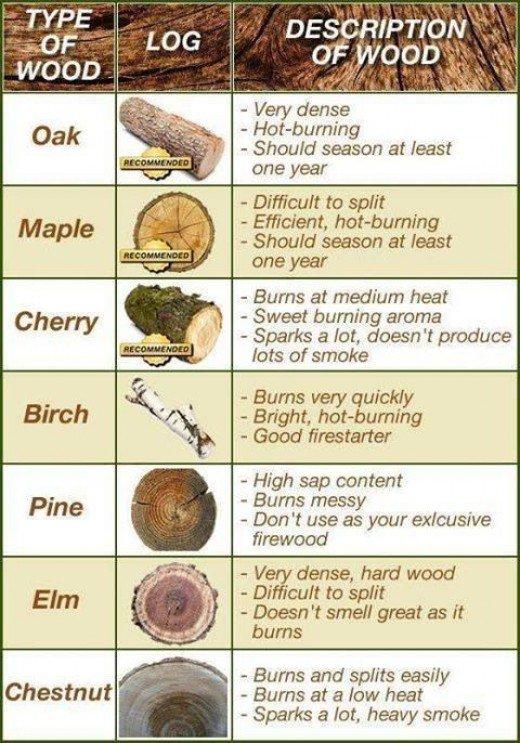
For a Wood burning fire pit, dry seasoned hardwood burns cleaner and produces less smoke.
Avoid treated lumber or construction scraps.
Seasonal Decorating Ideas
Your fire pit space can evolve throughout the year.
Summer
- String lights
- Tropical plants
- Bright outdoor pillows
- Citronella candles
Fall
- Plaid blankets
- Pumpkins
- Lanterns
- Warm earth-tone cushions
Fall and fire pits are basically made for each other.
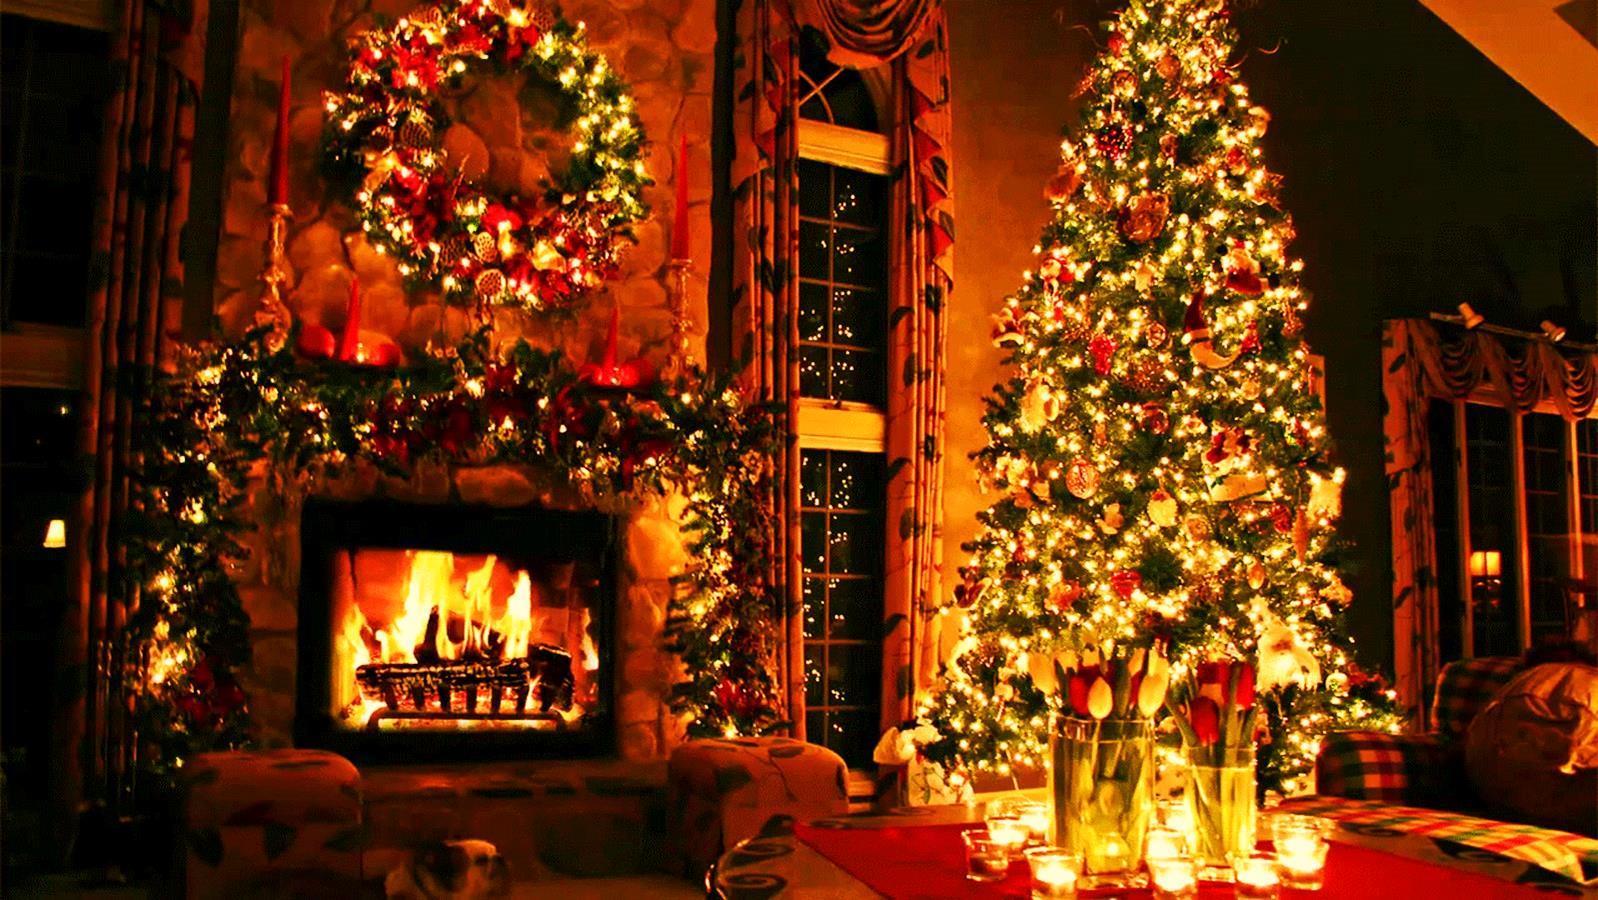
Winter
- Evergreen garlands
- Heavier throws
- Hot cocoa station
- Soft white lights
Spring
- Fresh flowers
- Pastel cushions
- Herb planters
- Lighter fabrics
Creating the Perfect Outdoor Entertaining Experience
People rarely remember perfect landscaping.
They remember how a place made them feel.
That’s why the best outdoor entertaining spaces focus less on perfection and more on atmosphere.
The goal is comfort.
You want guests to:
- Lose track of time
- Feel relaxed
- Stay longer than planned
- Want to come back
Fire naturally creates this feeling.
It slows people down in the best possible way.
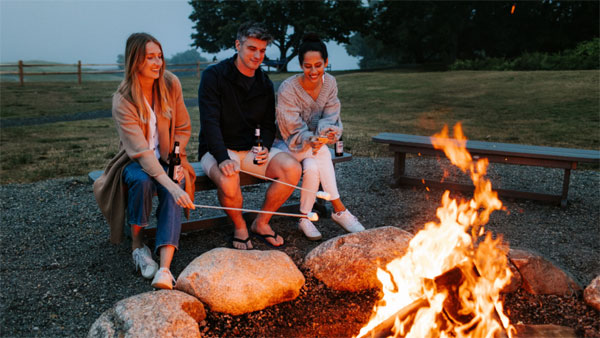
The Emotional Appeal of a Backyard Fire Pit
There’s a reason people gather around fire in every culture across history.
It creates connection.
A backyard fire pit isn’t just another landscaping feature. It becomes:
- A place for conversations
- A spot for late-night laughter
- A family gathering point
- A quiet escape after stressful days
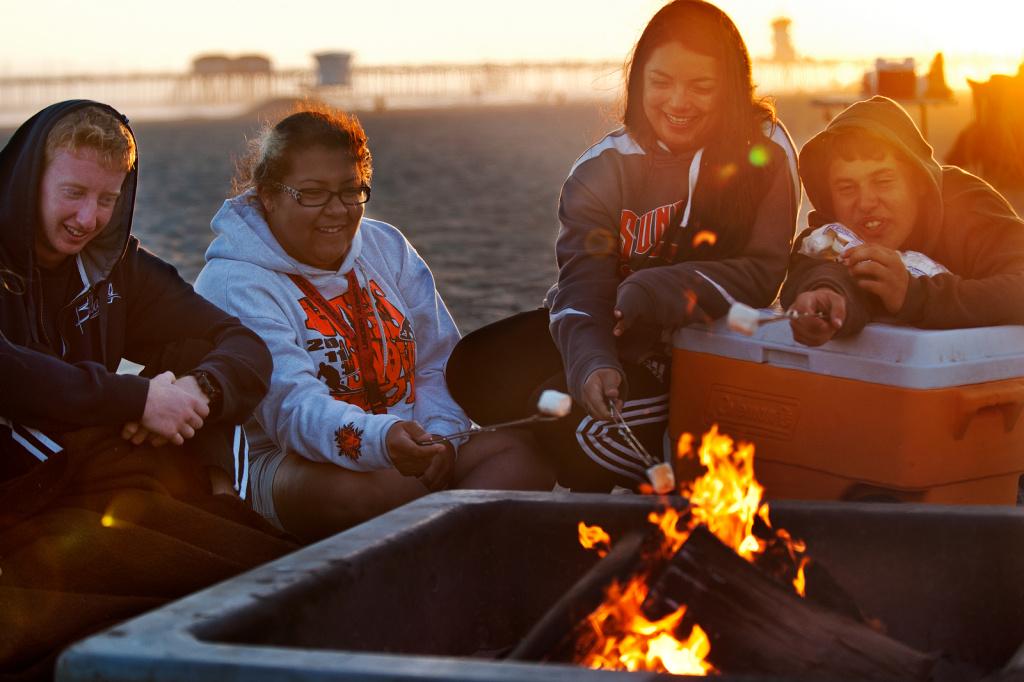
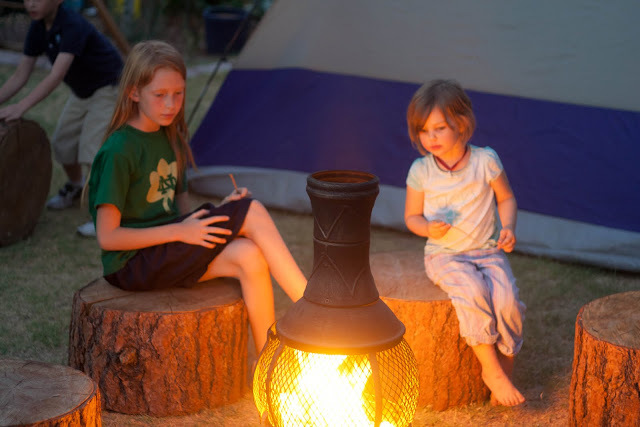
It’s where kids roast marshmallows.
Where friends tell stories.
Where couples sit under string lights long after dinner ends.
And unlike many home upgrades, the value isn’t only visual.
It’s experiential.
Final Thoughts
A thoughtfully designed backyard fire pit setup can completely transform how you use your outdoor space. Whether you choose a rustic Wood burning fire pit, a sleek modern fire bowl, or a simple gravel patio with a few chairs, the magic comes from creating a space people genuinely enjoy being in.
You don’t need a massive backyard.
You don’t need expensive furniture.
You don’t need a professional landscape architect.
You simply need warmth, comfortable seating, inviting lighting, and a layout that encourages connection.
Start simple if needed.
Build over time.
Focus on comfort over perfection.
Because once people experience evenings gathered around a cozy backyard fire pit, they almost always wonder why they didn’t create one sooner.
]]>


 Technology is creeping into every part of our lives, and fire pits are no exception. Smart fire pits are becoming super popular, offering app-controlled flames, automatic ignition, and even voice-activated controls. Imagine saying, “Hey Alexa, start the fire,” and watching the flames flicker to life—pretty awesome, right? Some smart fire pits also come with built-in safety features like auto shut-off and temperature monitoring, so you don’t have to worry about things getting out of control.
 Fire pit tables combine the best of both worlds—fire and functionality. These tables have built-in fire pits in the center, creating a stylish and practical way to gather with friends and family. Whether you’re enjoying drinks, playing board games, or just chatting, fire pit tables make the perfect focal point for any outdoor space. In 2025, expect to see even more creative designs, from glass-top tables with hidden flames to rustic wooden styles with stone fire bowls.
 If you want a fire pit that’s totally unique, custom-built designs are the way to go. More people are opting for personalized fire pits that reflect their style and personality. Whether it’s a fire pit shaped like a dragon, one with engraved designs, or a special theme, the possibilities are endless.


 these times, as they don’t produce embers that could start a fire.